

For this negative space manicure I used the straight manicure strips from my Sally Hansen French Manicure Kit to block off the nude areas. Then painted on my dark & light gray. Lastly, I took off the strips & outlined the negative spaces in black (using a thin brush).
Nails of the Week

For these nails, I first painted on a pearl base then used a nail tattoo sheet on my nails. To use nail tattoos, you first need to cut a sheet into different sized rectangles/squares to fit your nails. If you have small nails like me, you should only need one sheet. Then fill a cup or bowl with a little bit of water (room temp is best). Take the clear front sheet off of a rectangle piece, dunk in water for a second or two (not long at all). Then carefully place & keep on nail for ten seconds. Beware, the second it’s stuck on your nail you won’t be able to move it! Once they’re all done I put top coat on so they wouldn’t wash off.
I like the extra shine the pearl gave to the nail tattoo, but for this sheet gold will always be my favorite underneath it.
Nails of the Week
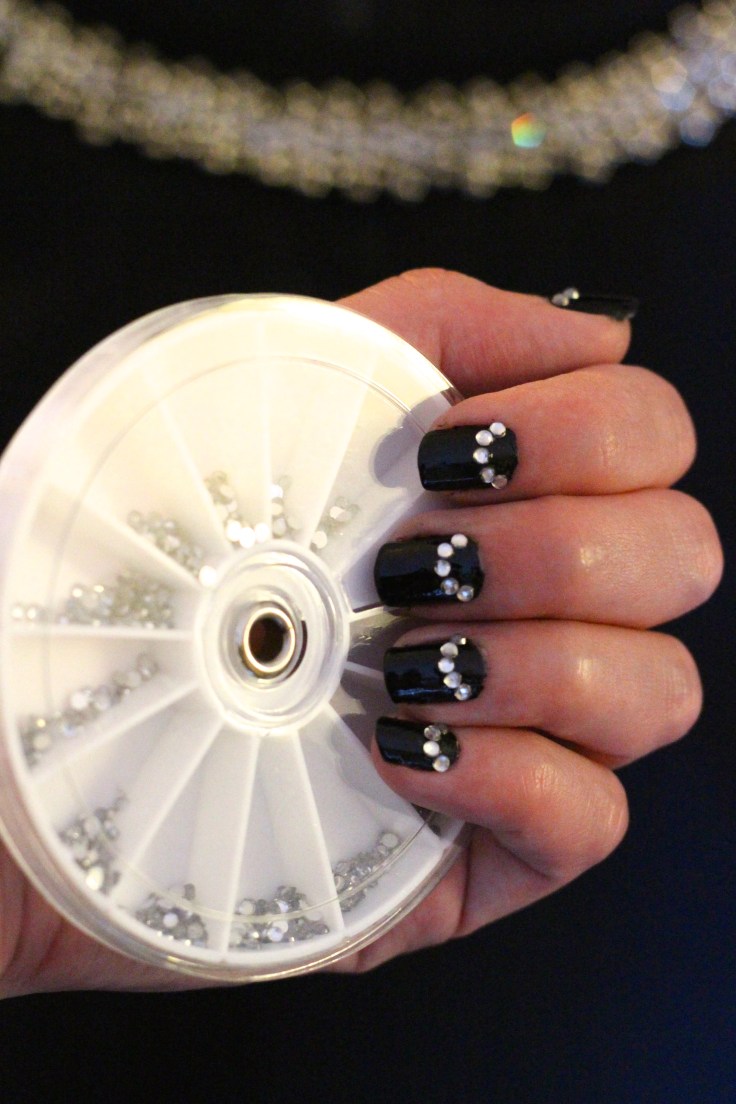
I went to a cousin’s wedding this weekend so I did a quick & simple design by painting my nails black, then using top coat to attach jewels in a half circle at the base of my nail.
Nails of the Week
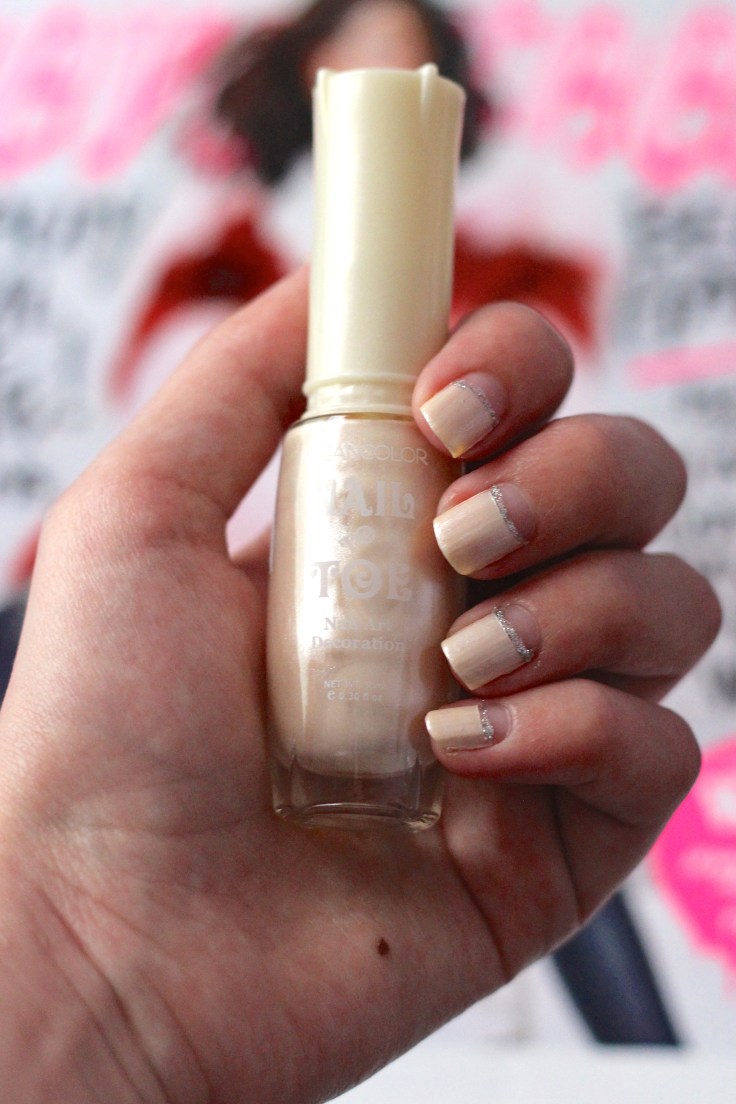
For these nails, I used manicure stickers to block off the base of my nails. Then used my pearl colored polish. Then I used a little silver glitter polish to paint a thin line above the pearl.
Nails of the Week
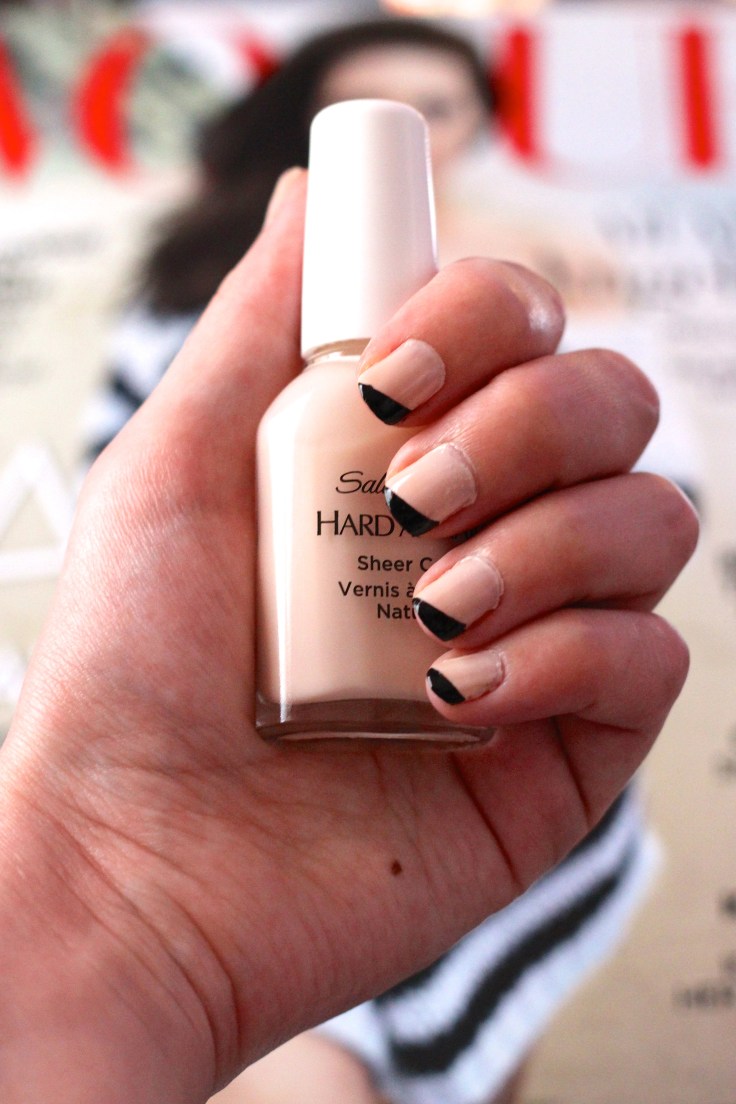
I decided to do some simple asymmetrical french tips for my holiday nails. I first used a sheer pinkish nude color. Then I used straight manicure stickers to paint on my black asymmetric french tips.
Nails of the Week
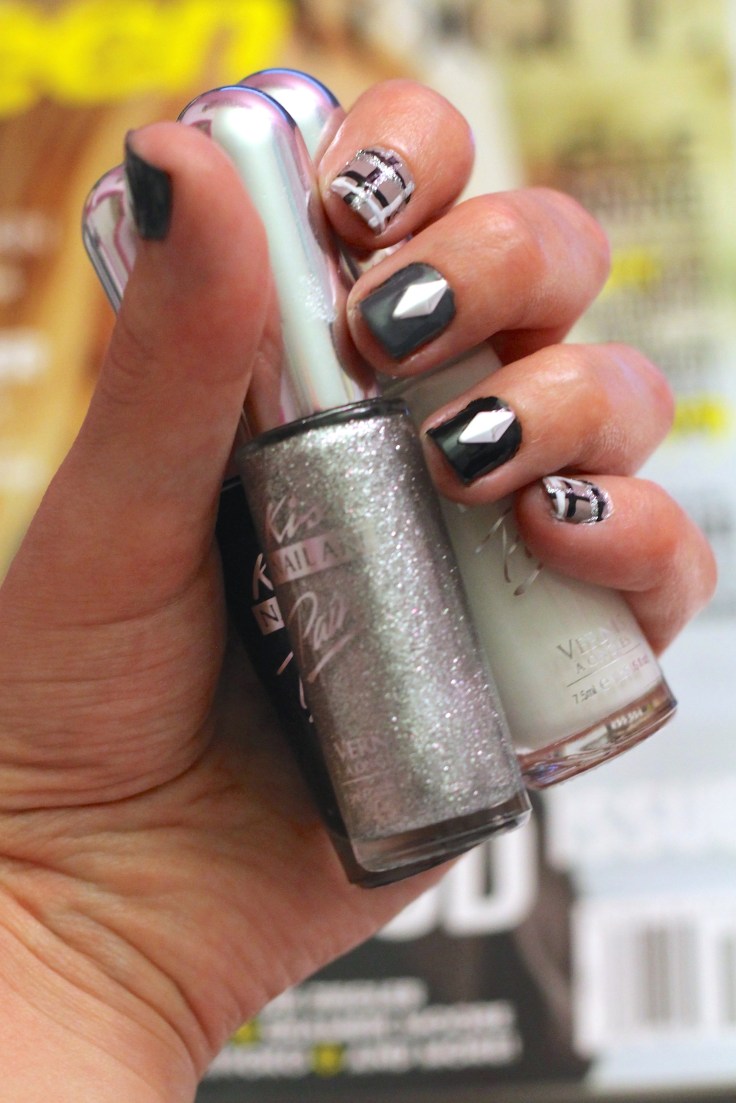
To do these plaid nails, I first painted my thumbs & middle fingers dark grey. Then painted my pointer & pinky fingers light grey. Then painted my ring fingers black. Next, I used Kiss Nail Art Paint (they have thin brushes) to do a plaid design on my pointer & pinky. You can use these in any order you like but I used black, then white, then silver. Lastly, I used top coat to apply diamond shaped nail decals to the rest of my nails.
Nails of the Week
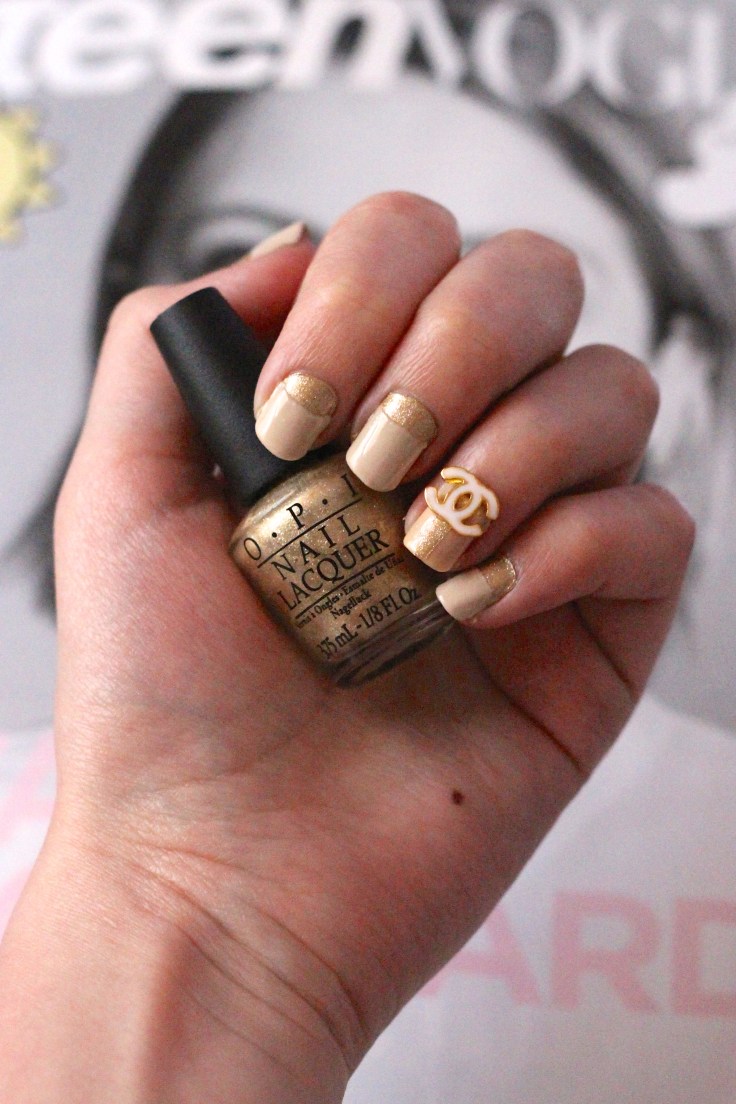
I decided to go for a classy but fun look for the week of Thanksgiving. For these pretty gold & nude nails, I painted my ring finger a nude color (mine was from a french tip kit) & the rest in this glittery gold. Side note, if any of you know what the name of this OPI polish is, could you let me know. There aren’t any polish names on my tiny bottles & I think I’d like to buy a regular sized bottle when this runs out.
To finish the ring finger, I used straight french tip stickers to make my glittery gold stripe & used top coat to adhere my Chanel logo decal. I got these from Shopmissa found [HERE]. If you do only use top coat like I do, I would recommend taking them off every night & before washing your hair so you don’t loose them.
To finish the rest of the nails, simply use the typical curved french tip stickers to make reversed french tips using more nude polish. Also, if you end up with edges from the manicure stickers just dip a Q-tip in nail polish remover – let it dry for just a second or two so it’s not too wet – then very gently go over the edge to soften it.
Nails of the Week

For these nails, I first used a shimmery black as a base. Then I used top coat to apply little jewels to the base of my nails.
Nails of the Week
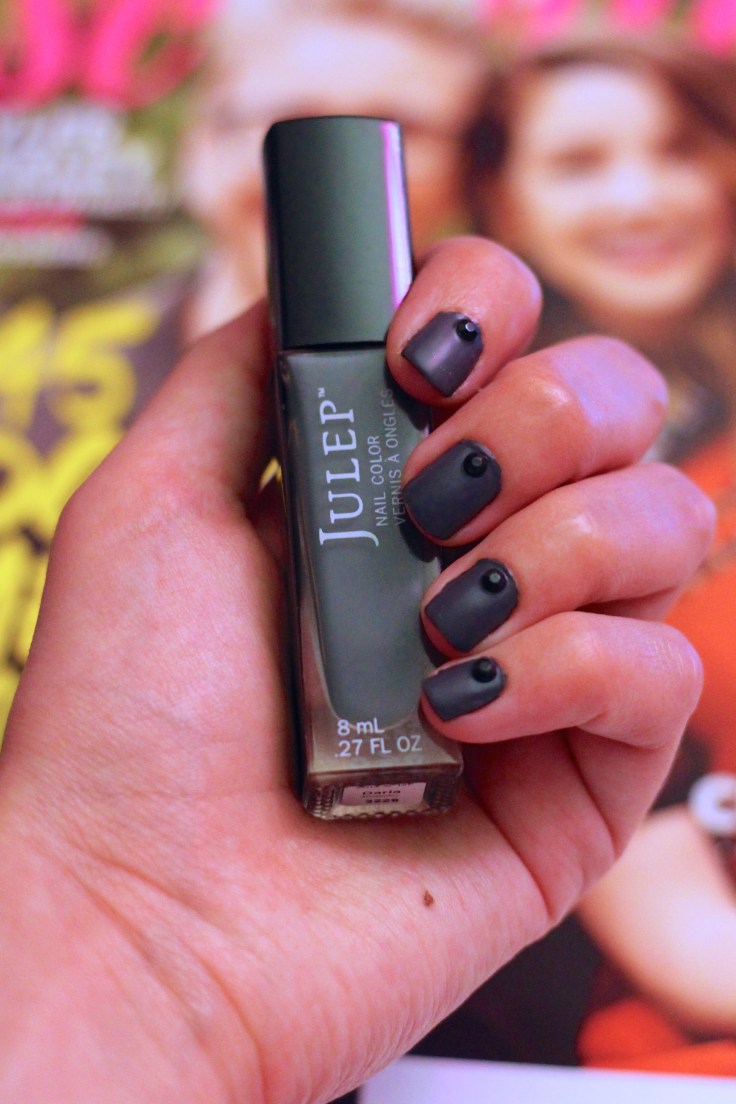
To get these matte nails, I first used a dark grey. Then piled on my matte top coat to make my polish matte & attach my little plastic black gems.
Nails of the Week
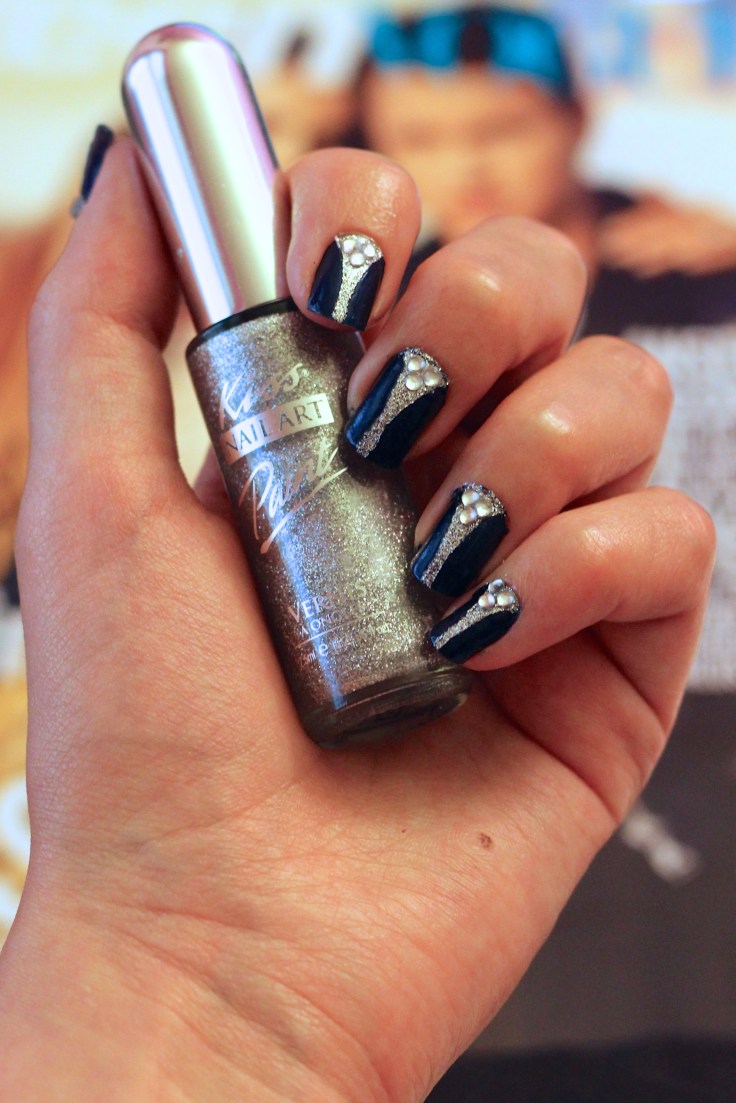
For these sleek nails, I first painted them navy blue. Then using french tip stickers I made the wine stem shape & used my silver glitter polish. Lastly, I used top coat to apply little plastic jewels to the base of my nails.


