
I had a busy weekend celebrating my and my twin brothers birthday on Sunday and a wedding on Saturday, so I wanted to do an extra fun and ambitious manicure for the weekend. I was inspired by this manicure I saw on Pinterest, and modified it to my own skill level and color palette.
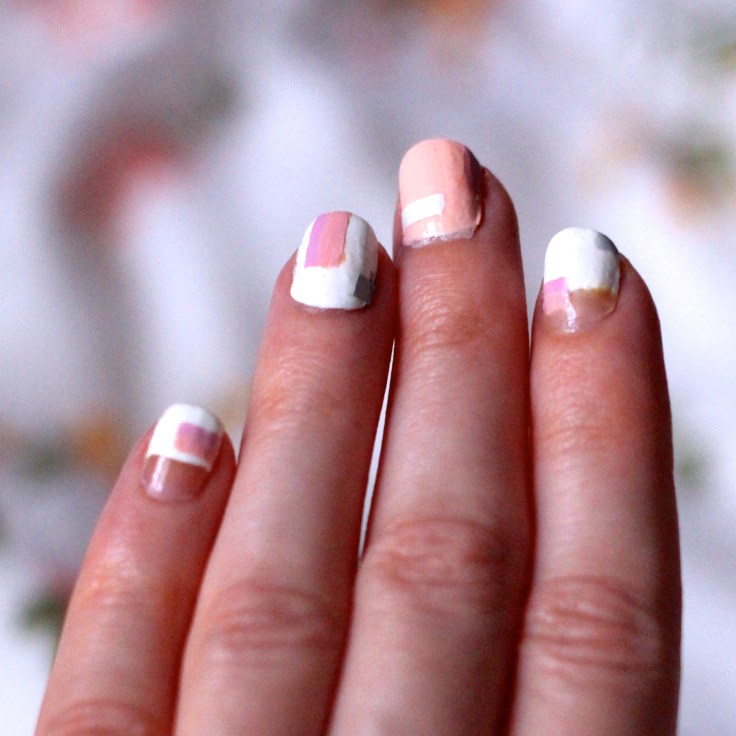
I started out by using nail tape on my thumbs, pointer, and pinky fingers to create the negative space, then painted pink on my middle fingers and white on the rest. Once dry, I peeled off the tape and painted on top coat. Once the top coat was completely dry, I used nail tape to block off rectangular shapes. I painted grey on my thumbs, pointer, and ring fingers. White on my middle fingers. Then lavender and pink on all of my fingers side by side in the same rectangle. See photo below for reference.
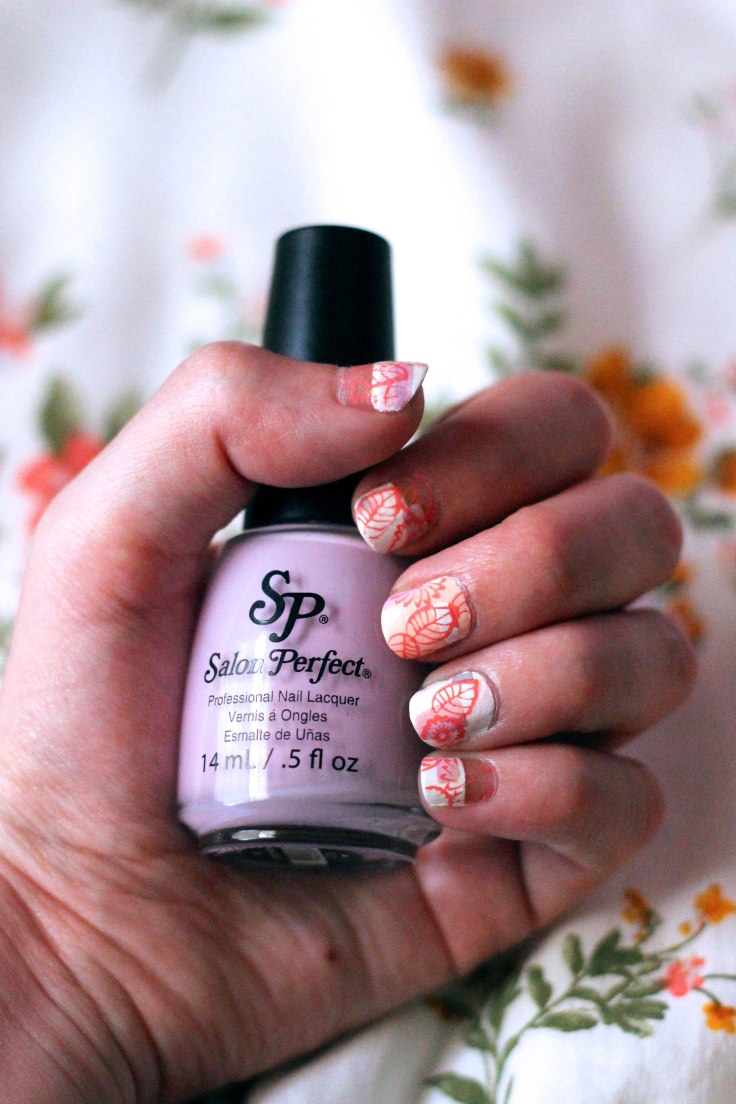
Once I had my rectangular shapes painted, I stamped on a floral design over the top of my nails. I placed some bright pink polish along one side of the design I chose, then quickly used my nail scraper to spread the polish over the design, and lightly rolled my stamper over the polish. Once the design was on my stamp, I quickly stamped it onto my nail. I then cleaned the stamping plate, scraper, and stamp with 100% acetone and a cotton round while trying to only use the pads of my fingers so the polish on my nails wouldn’t be removed. Then I repeated this process with every nail.
I really like how this manicure turned out, but I wish I would have made my ring finger the pink nail instead of copying the design and painted my middle finger pink.
Born Pretty Gold Nail Art Striping Tape/Salon Perfect Georgia Peach, similar OPI Bubble Bath/OPI Alpine Snow/Butter London Sterling/Salon Perfect Lavender Fields, similar OPI Do You Lilac It?/Maybelline Color Show Pink Embrace/Butter London Trout Pout/Born Pretty floral nail stamping plate (I used the one second to the right on the top row)/Born Pretty clear jelly stamper & scraper


Leave a comment