

It took me a bit longer then I thought to come up with a nail design that was halfway decent. I tried to do a water color technique, actually I tried a handful of water color techniques, but none of them turned out at all like they did in the pictures. Eventually, I decided to use a technique that is used in making marble nails. Continue reading “Nails of the Week”

Nails of the Week

I went to another wedding last weekend & had to do something extra cute with my nails!
Continue reading “Nails of the Week”
Nails of the Week

It’s cooled off some this week so I ended up pulling out some black a grey pieces (my typical winter colors) for this weeks ootds. To compliment the looks but still keep a lightness for the first week of spring, I decided to do a simple negative space manicure.
Continue reading “Nails of the Week”
Nails of the Week

For these matte & shinny black & gold nails I first painted my nails black.
Then used my matte top coat.
Once that is completely dry, I used my straight french tip manicure stickers from my Sally Hansen kit to block off the black areas & make stripes for the gold.
Then I took off just the bottom stickers to use shinny top coat for the tips.
For the ring finger I also took off the sticker second from the base to use shinny top coat.
Once the shinny top coat is almost completely dry (if it dries all the way the stickers might get to stiff to pull off) you can pull off all of the stickers.
Nails of the Week

For this negative space manicure I used the straight manicure strips from my Sally Hansen French Manicure Kit to block off the nude areas. Then painted on my dark & light gray. Lastly, I took off the strips & outlined the negative spaces in black (using a thin brush).
Nails of the Week
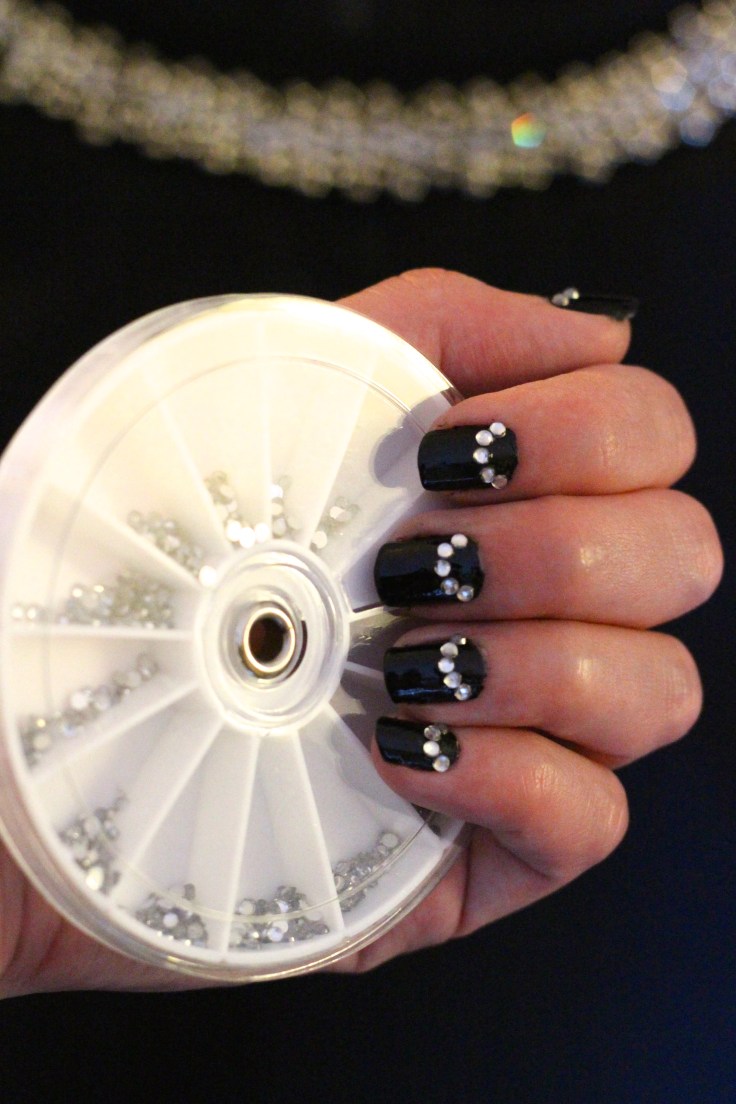
I went to a cousin’s wedding this weekend so I did a quick & simple design by painting my nails black, then using top coat to attach jewels in a half circle at the base of my nail.


