

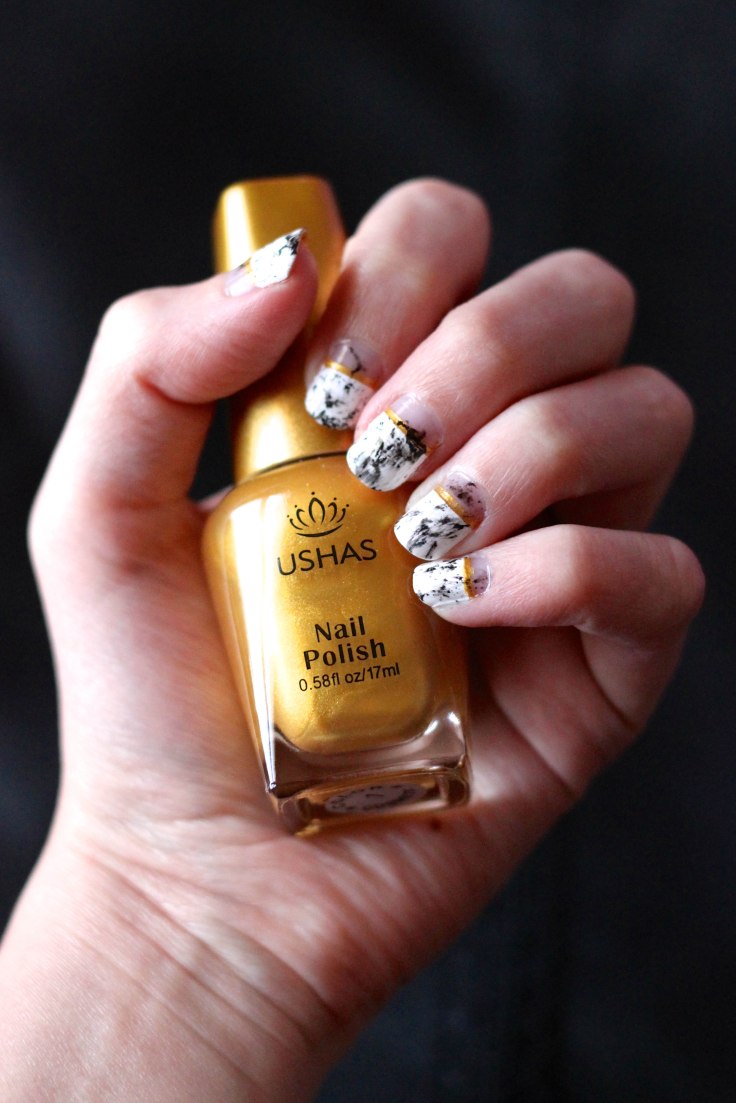
I haven’t done marble nails or a negative space manicure in a while, so this week I thought I’d combine both and Continue reading “Nails of the Week”
Nails of the Week
This is a manicure design I’ve been wanting to try and this week I decided since I’ve been needing simple designs, why not try it now Continue reading “Nails of the Week”
Nails of the Week
I co-hosted a baby shower this weekend for my brother’s girlfriend (which was so much fun!) but had almost no time to do my nails. Continue reading “Nails of the Week”
Nails of the Week
I decided to cut my nails short after I broke a nail a few days ago and thought maybe I’d take advantage of the situation and do a negative space manicure. Continue reading “Nails of the Week”
Nails of the Week
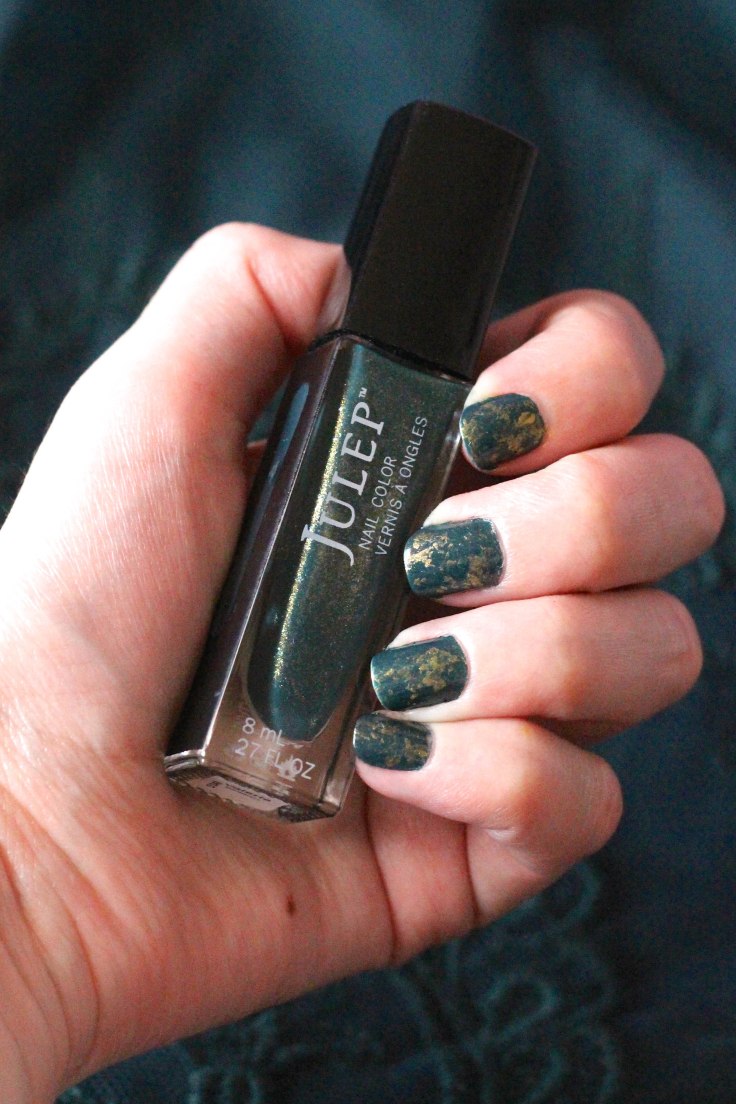
For my St. Patrick’s Day nails this year I took inspiration from my last marble manicure and decided to use the main idea of using plastic wrap to create a design. Continue reading “Nails of the Week”
Nails of the Week
I decided to try nail marbling again! Continue reading “Nails of the Week”
Nails of the Week
Since my family and I left for a ski trip on Thursday, I wanted to do a quick and simple manicure that wouldn’t cut into my packing time. Continue reading “Nails of the Week”
Nails of the Week

Last Saturday was homecoming for my college, which is in my home town so it has always been a big day for my family. Continue reading “Nails of the Week”
Nails of the Week

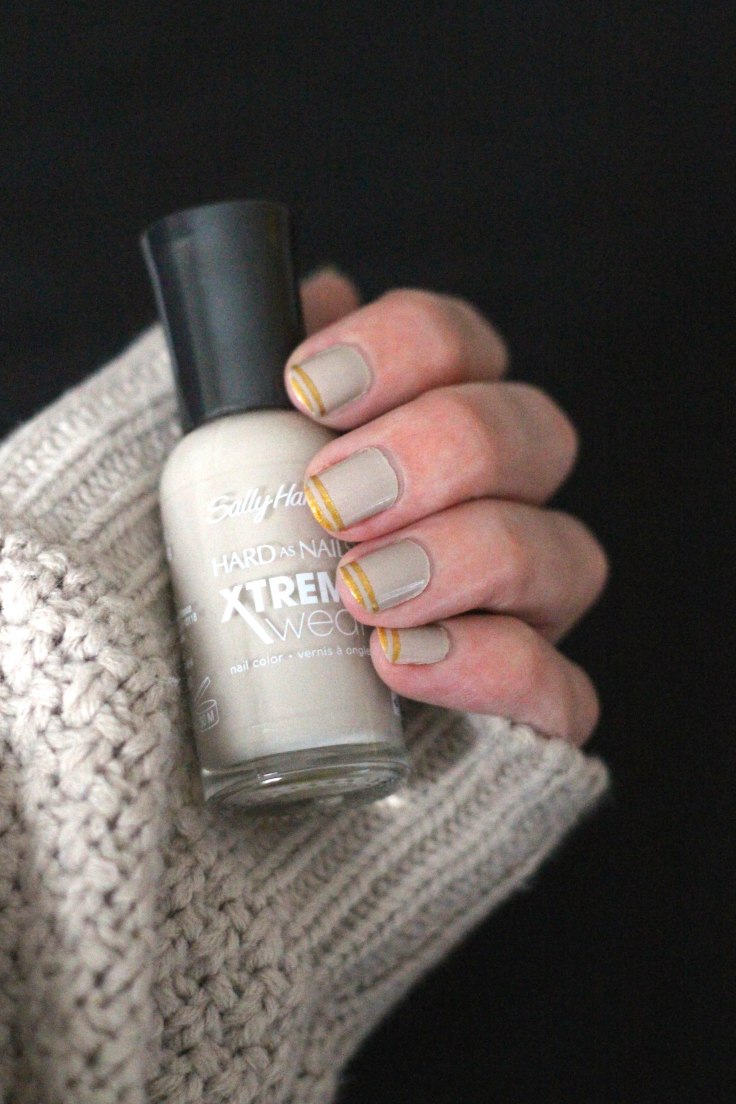
For these color blocked nails, I first painted a beige base. Then Continue reading “Nails of the Week”
Nails of the Week

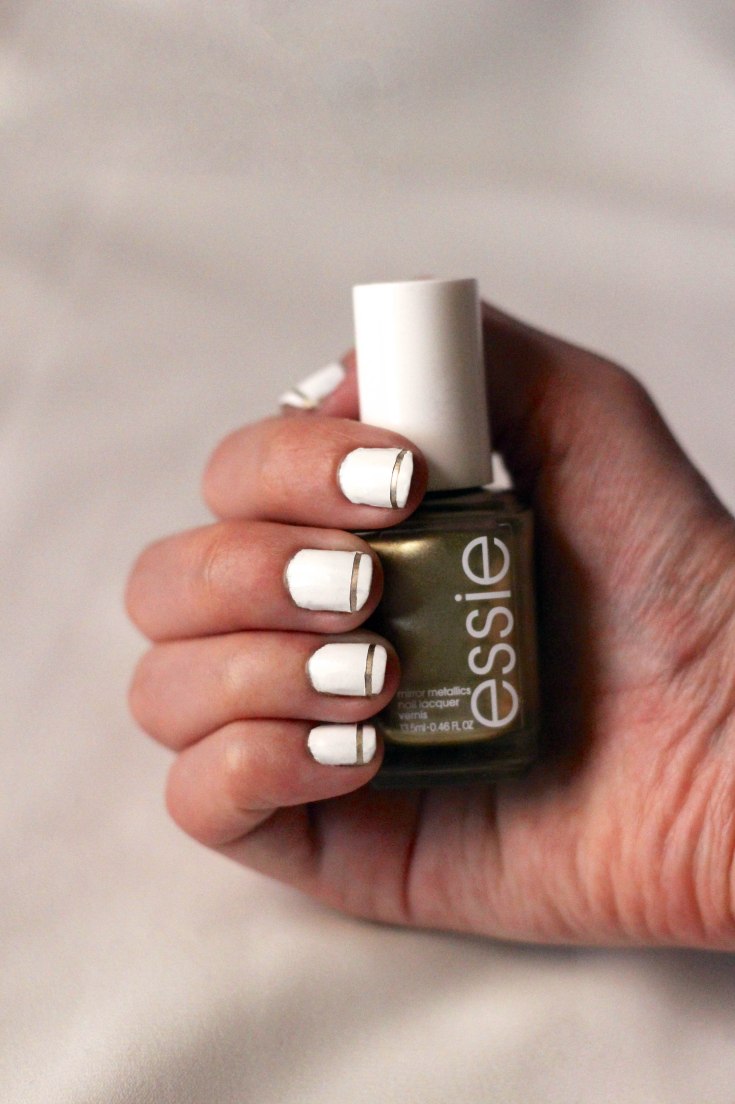
It’s been a while since I used a lot of my thin nail tape for a manicure & when I do, those ones are more challenging. So I decided to come up with something using lots of nail tape.
Continue reading “Nails of the Week”
Nails of the Week

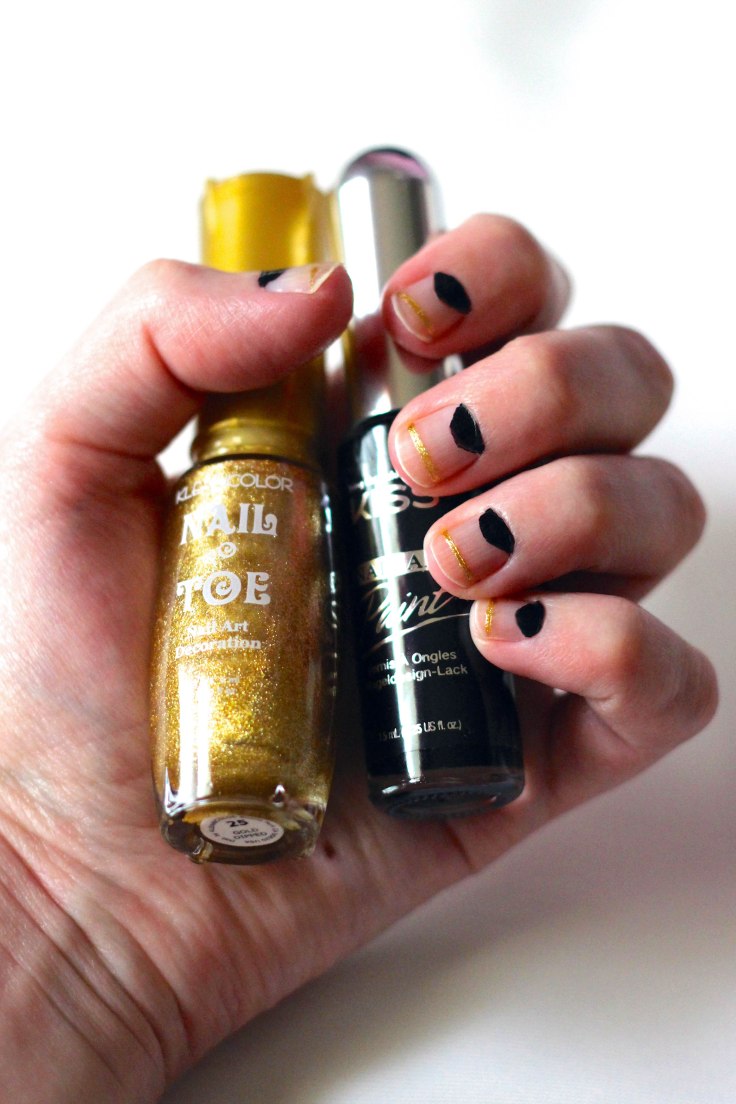
For these matte & shinny black & gold nails I first painted my nails black.
Then used my matte top coat.
Once that is completely dry, I used my straight french tip manicure stickers from my Sally Hansen kit to block off the black areas & make stripes for the gold.
Then I took off just the bottom stickers to use shinny top coat for the tips.
For the ring finger I also took off the sticker second from the base to use shinny top coat.
Once the shinny top coat is almost completely dry (if it dries all the way the stickers might get to stiff to pull off) you can pull off all of the stickers.
Nails of the Week
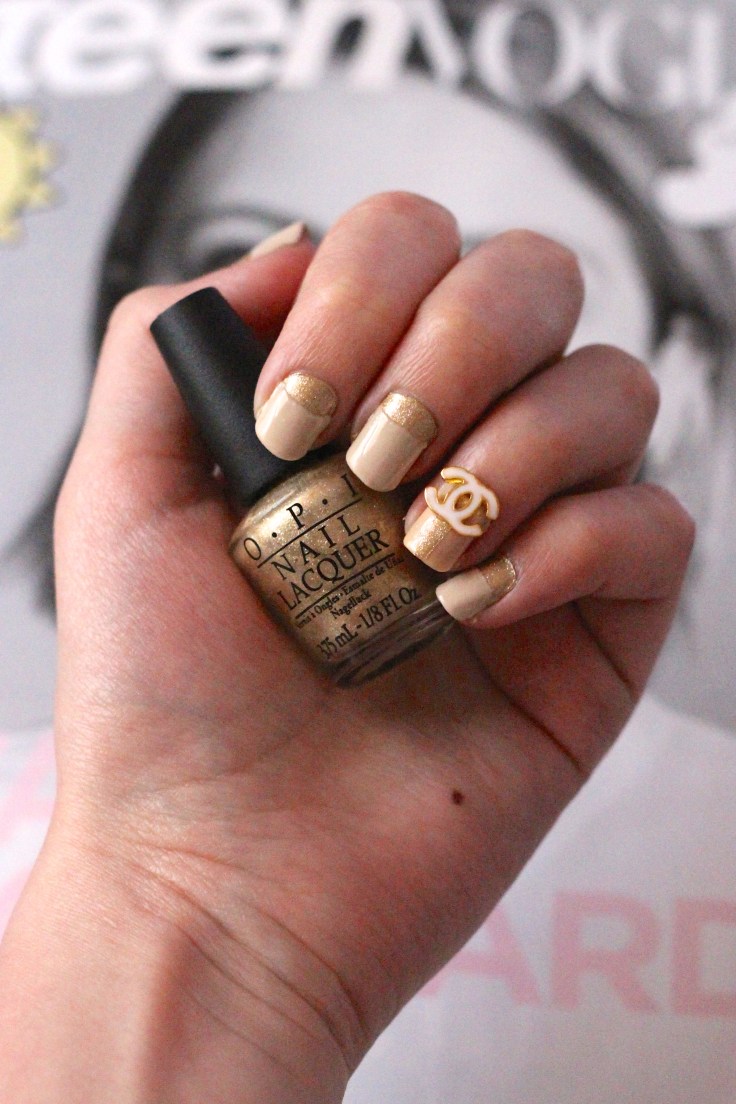
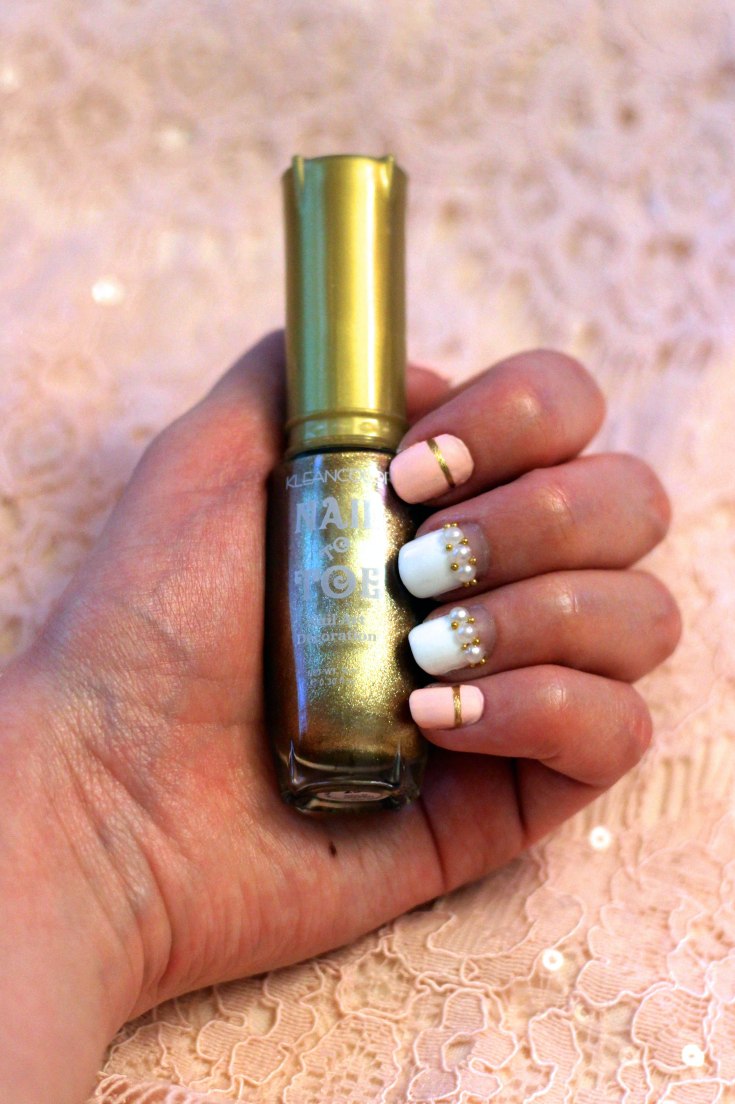
I decided to go for a classy but fun look for the week of Thanksgiving. For these pretty gold & nude nails, I painted my ring finger a nude color (mine was from a french tip kit) & the rest in this glittery gold. Side note, if any of you know what the name of this OPI polish is, could you let me know. There aren’t any polish names on my tiny bottles & I think I’d like to buy a regular sized bottle when this runs out.
To finish the ring finger, I used straight french tip stickers to make my glittery gold stripe & used top coat to adhere my Chanel logo decal. I got these from Shopmissa found [HERE]. If you do only use top coat like I do, I would recommend taking them off every night & before washing your hair so you don’t loose them.
To finish the rest of the nails, simply use the typical curved french tip stickers to make reversed french tips using more nude polish. Also, if you end up with edges from the manicure stickers just dip a Q-tip in nail polish remover – let it dry for just a second or two so it’s not too wet – then very gently go over the edge to soften it.


